How to Use Xhorse XDRT20 Frequency Tester V2?

Xhorse Frequency Tester V2 Panel Instruction:
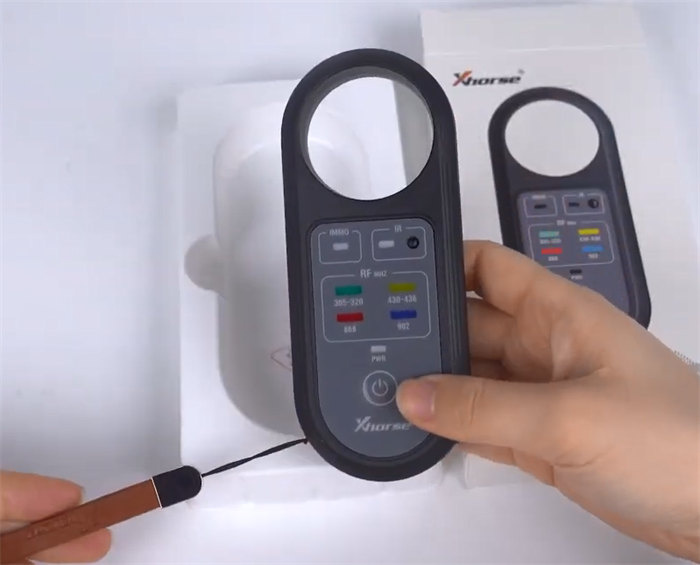
It’s equipped with these buttons incl. power button, PWR, 868 (868MHz), 305-320 (test 315MHz), 430-436 (test 433MHz), 902 (902 MHz), IMMO, IR, Infrared signal receiver and battery cover.
Check the meaning of each button in the following image.
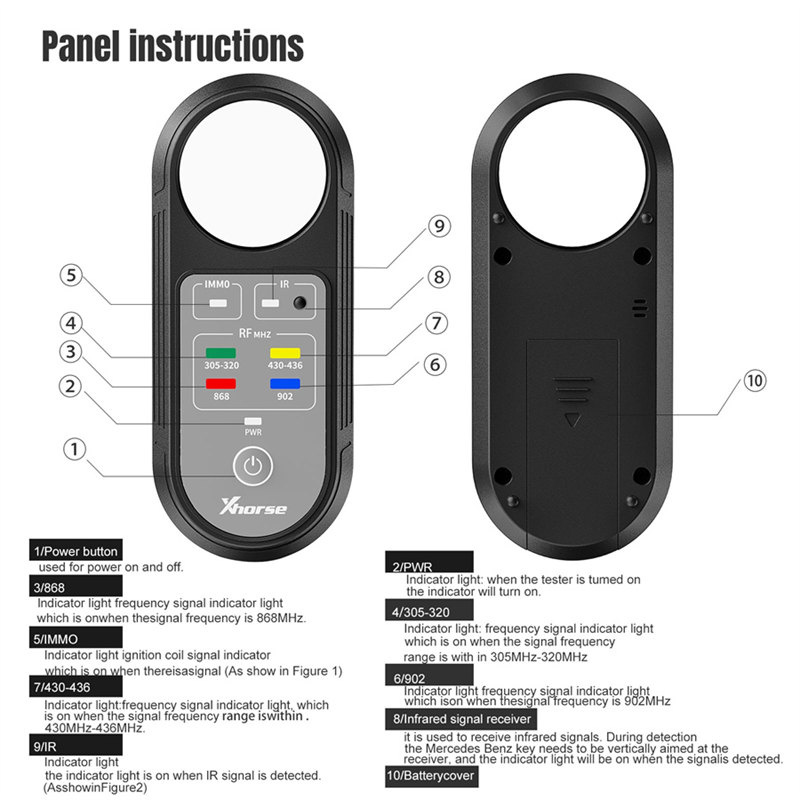
How to use Xhorse XDRT20 Frequency Tester?
- 868 and 902 band jumper:
After the device is turned on, if the 868 or 902 signal lights are flashing or on all the time, it means that there is local frequency interference. Please block the 868 and 902 frequency measurement functions according to the following figure.
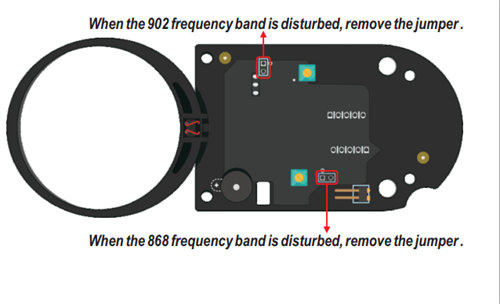
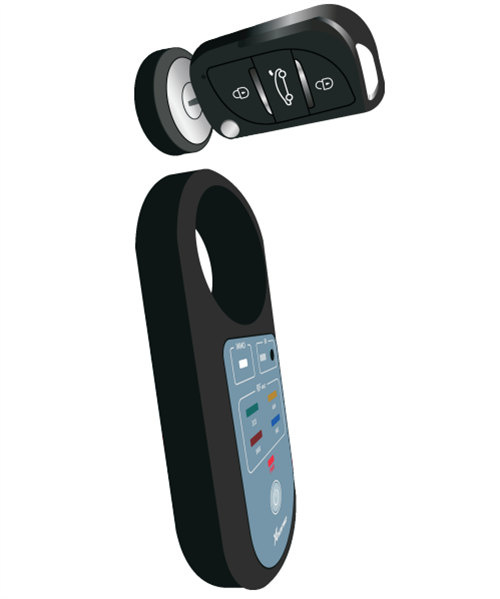
- IMMO signal test:
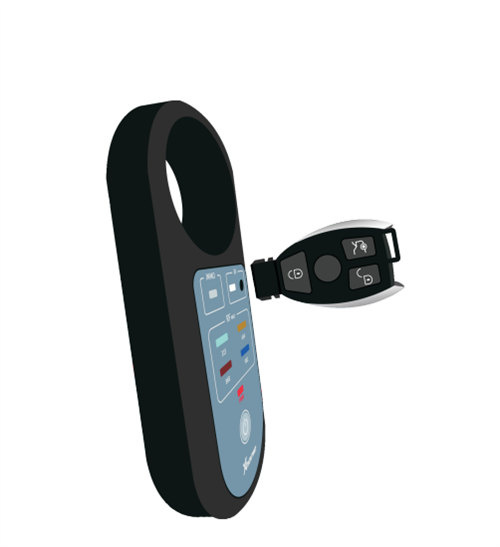
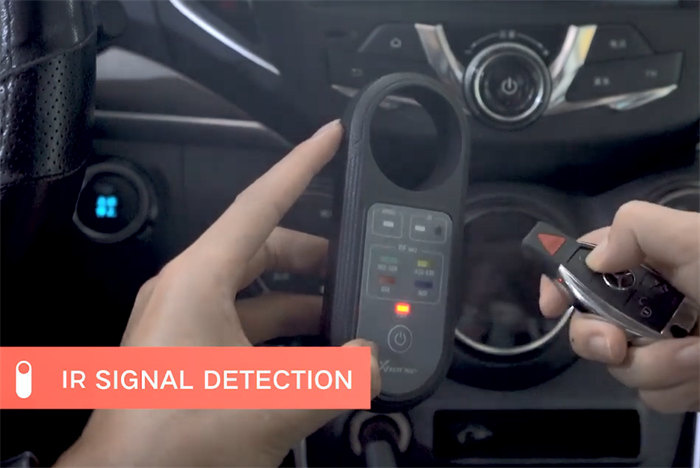
- Infrared signal test:
Detailed operation process:
Open the box and take out the Xhorse remote tester.
It comes with a customized lanyard with Xhorse logo on it. The lanyard can be tied on the tester V2 which is very convenient.
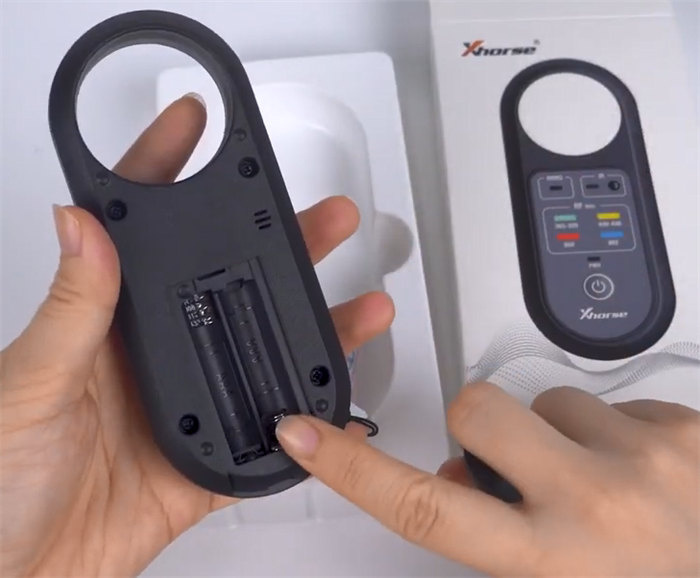
Remove the cover in the back of the tester, and you can see the battery compartment, it requires two AAA batteries to power up.
After installing the batteries, the PWR light will be on. The device will automatically shut down after about 30 seconds idling to ensure you get the best battery life.
- Test door handle/ IMMO signal:
Put the Xhorse Tester V2 near the door handle or the ignition coil, the IMMO light will be flashing and you’ll hear the beep sound.
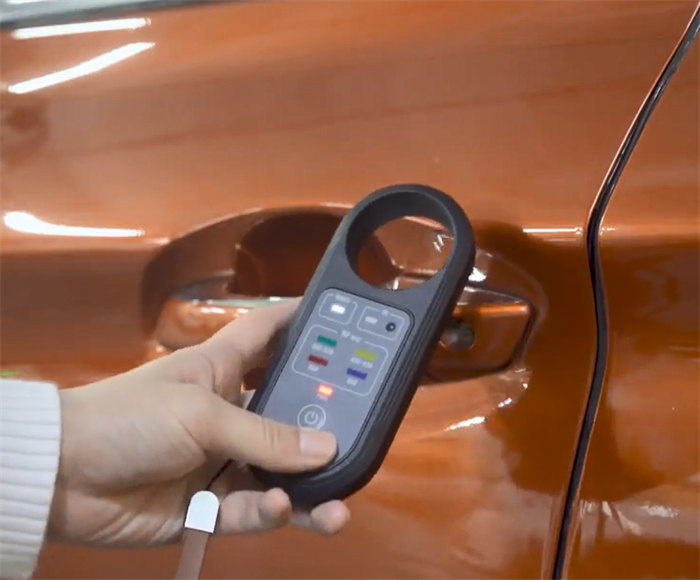
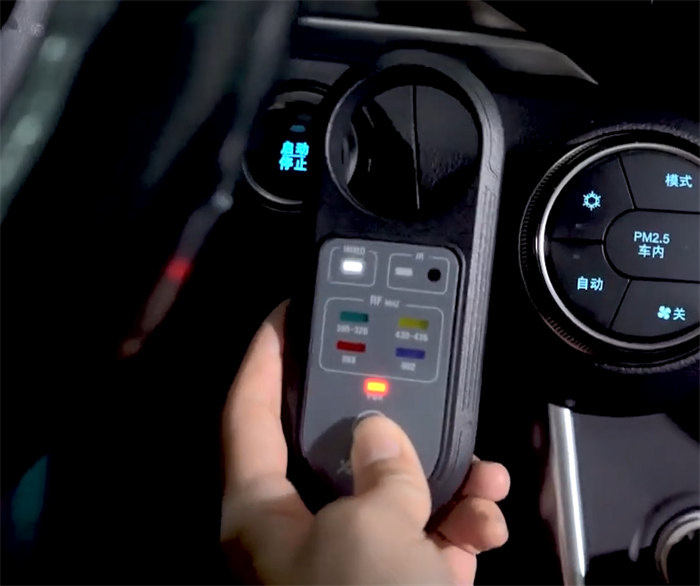
When you place a remote close to the Remote Tester, it’ll just stop flashing.
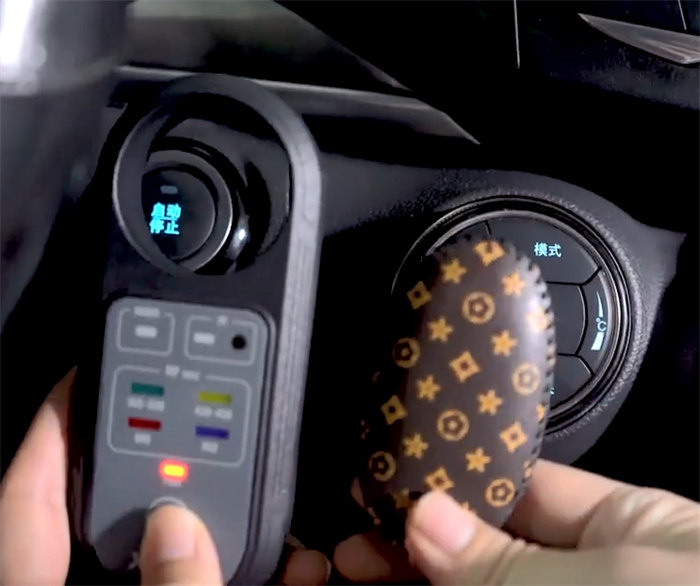
The device now can detect common frequencies.
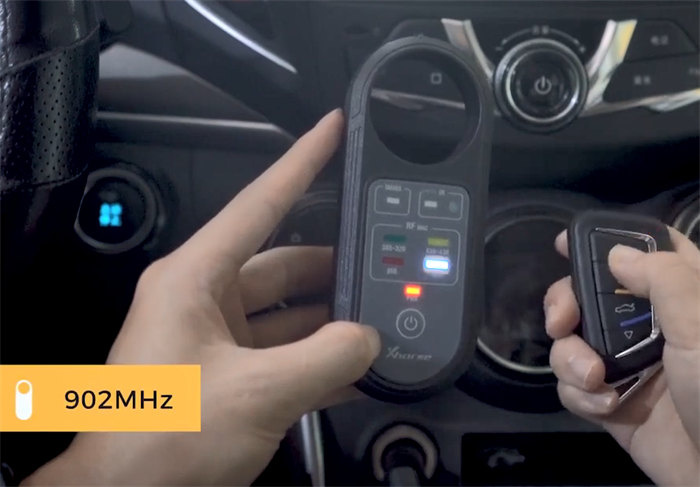
- Test 315Mhz/433Mhz/868Mhz/902Mhz frequency:
Put a remote close to Tester V2, and press on the remote, the corresponding frequency indicator will flash soon.
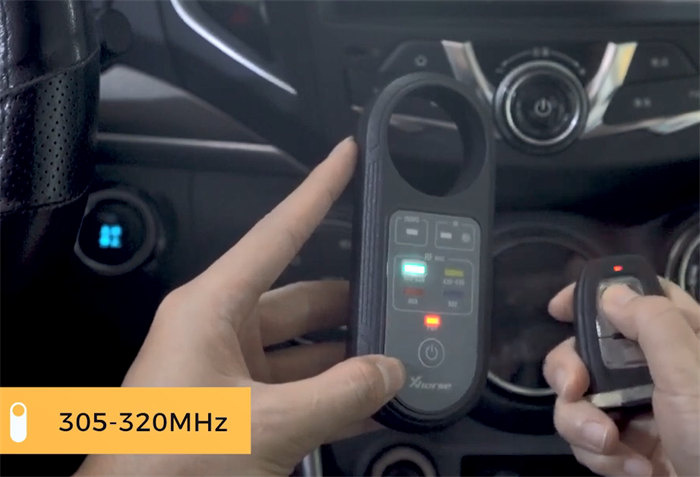
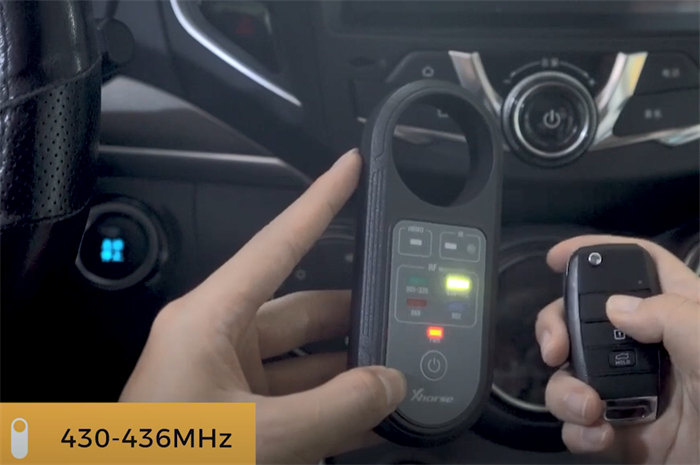
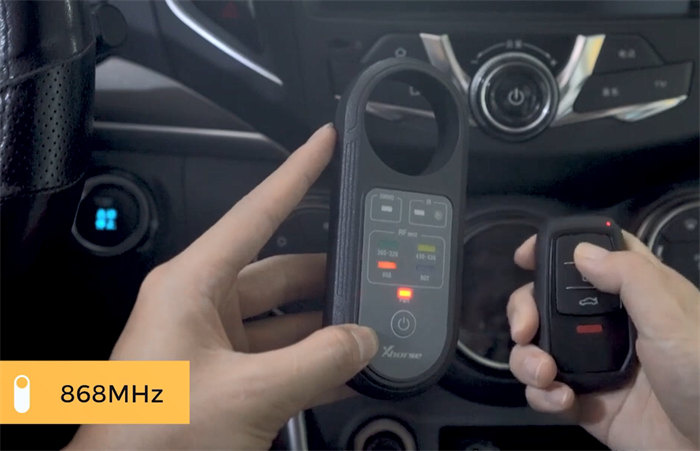
- Test IR signal:
The IR light will turn on when it receives the infrared signal.
The Xhorse frequency tester V2 comes with a magnetic design which is more convenient to use, and compact body makes it easy to carry out.